Welcome to my PS70 portfolio! Here you will find weekly progress of my digital fabrication journey.
04: 3D design and printing
Photogrammetry
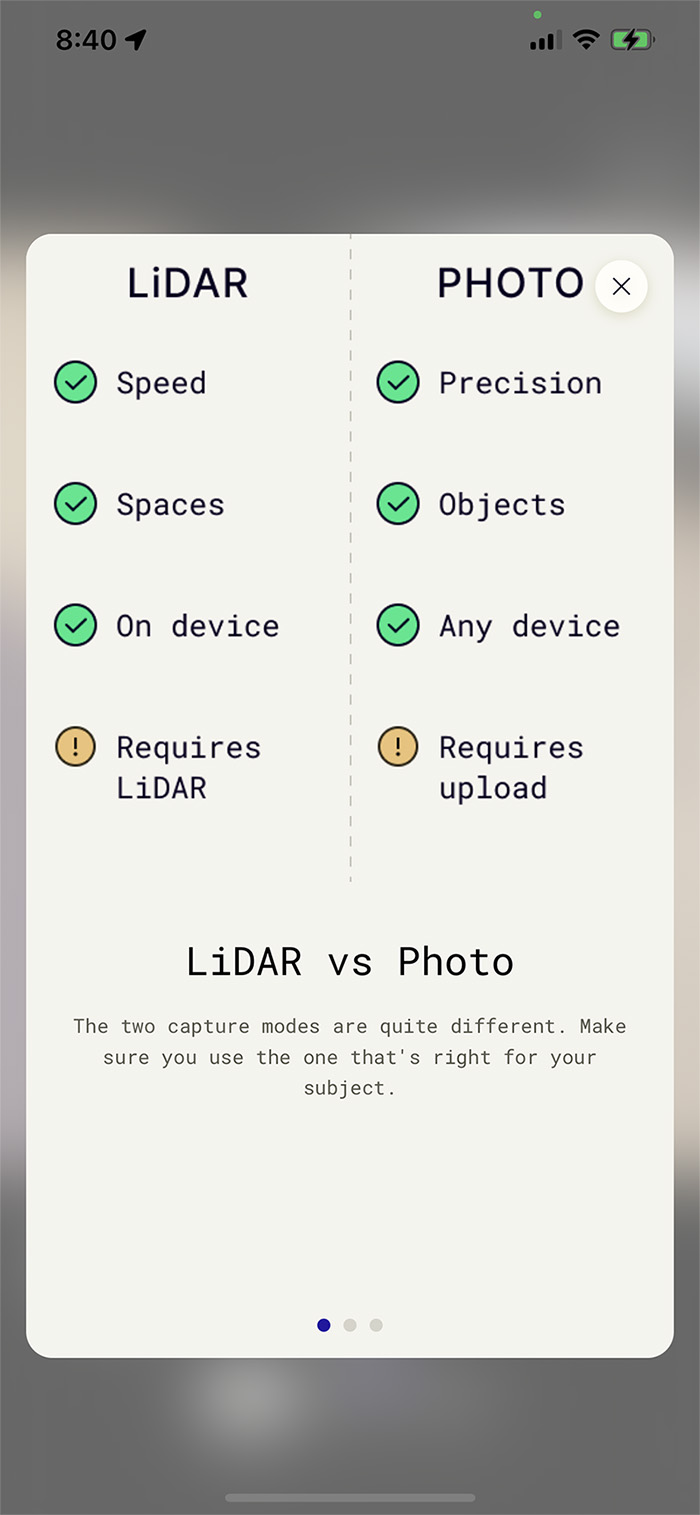
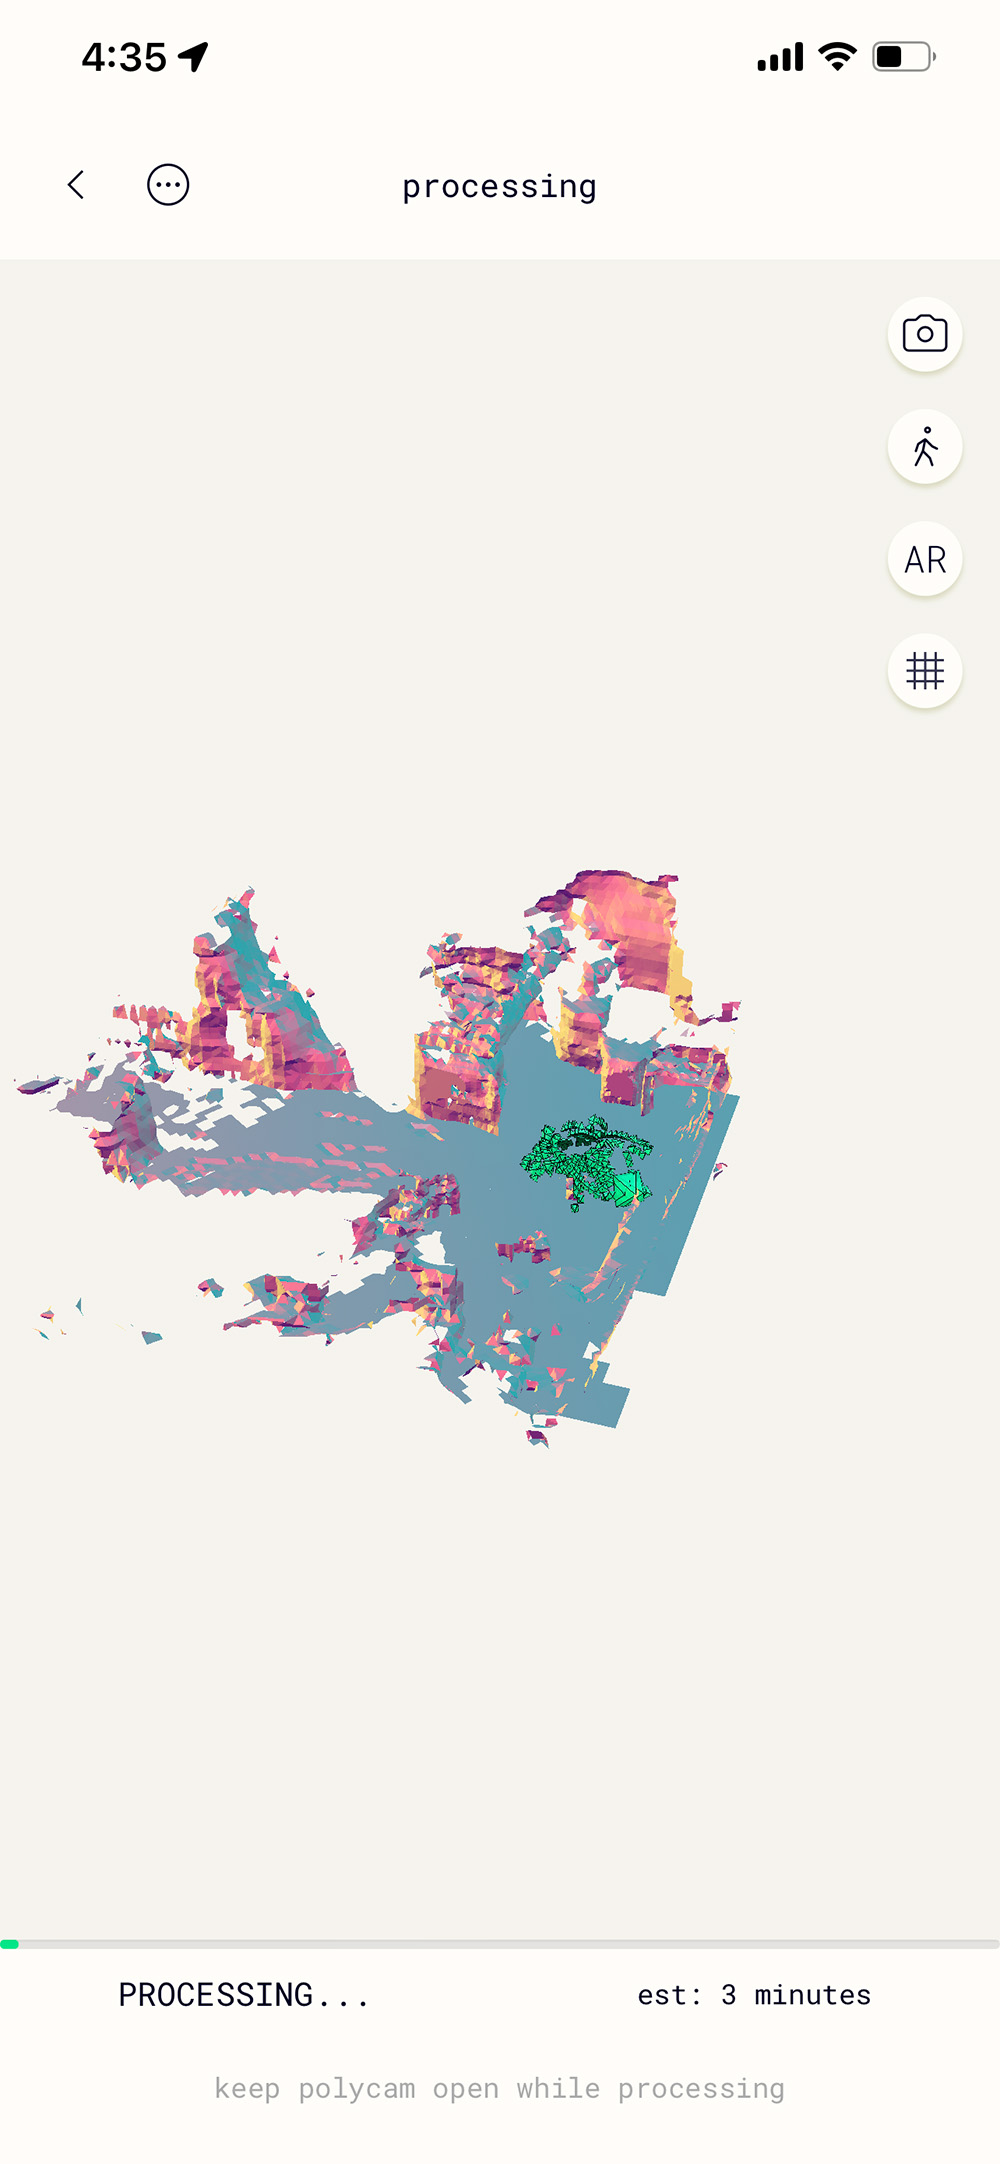
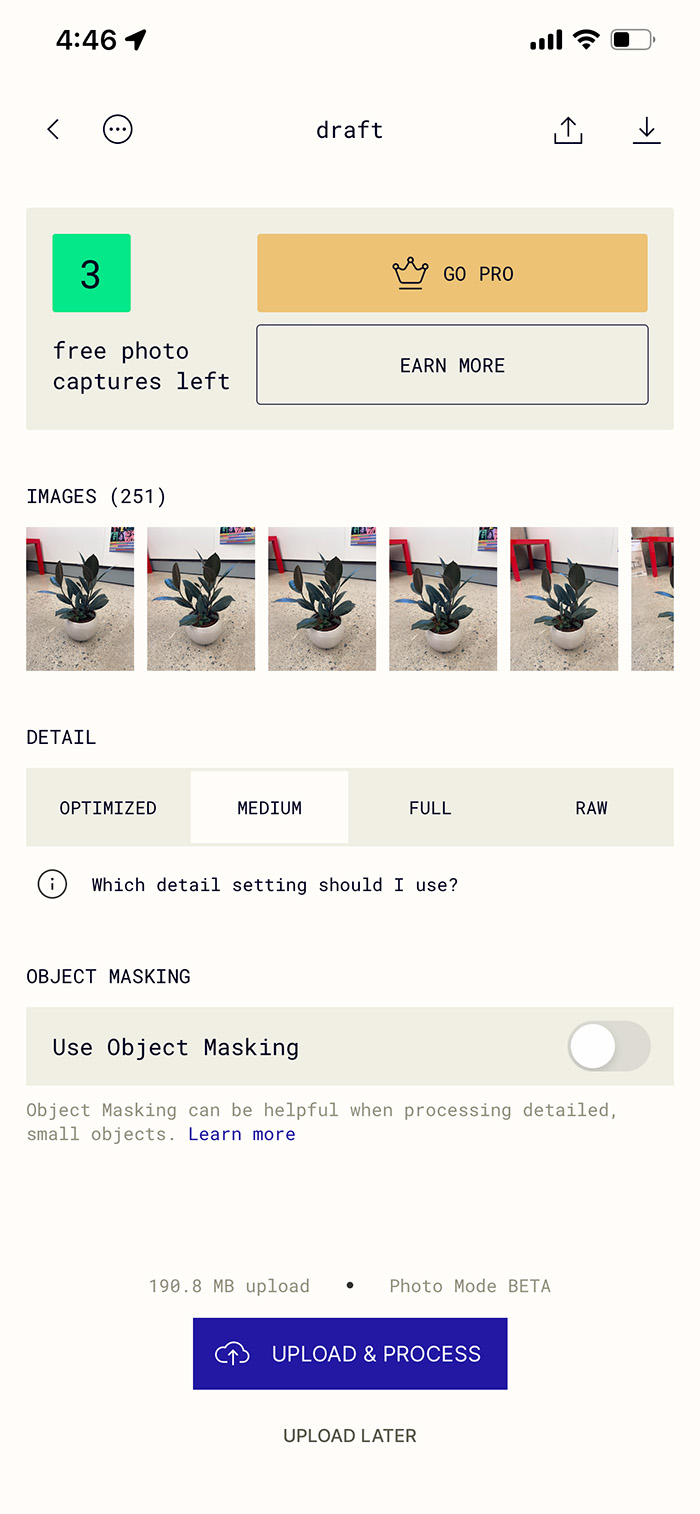
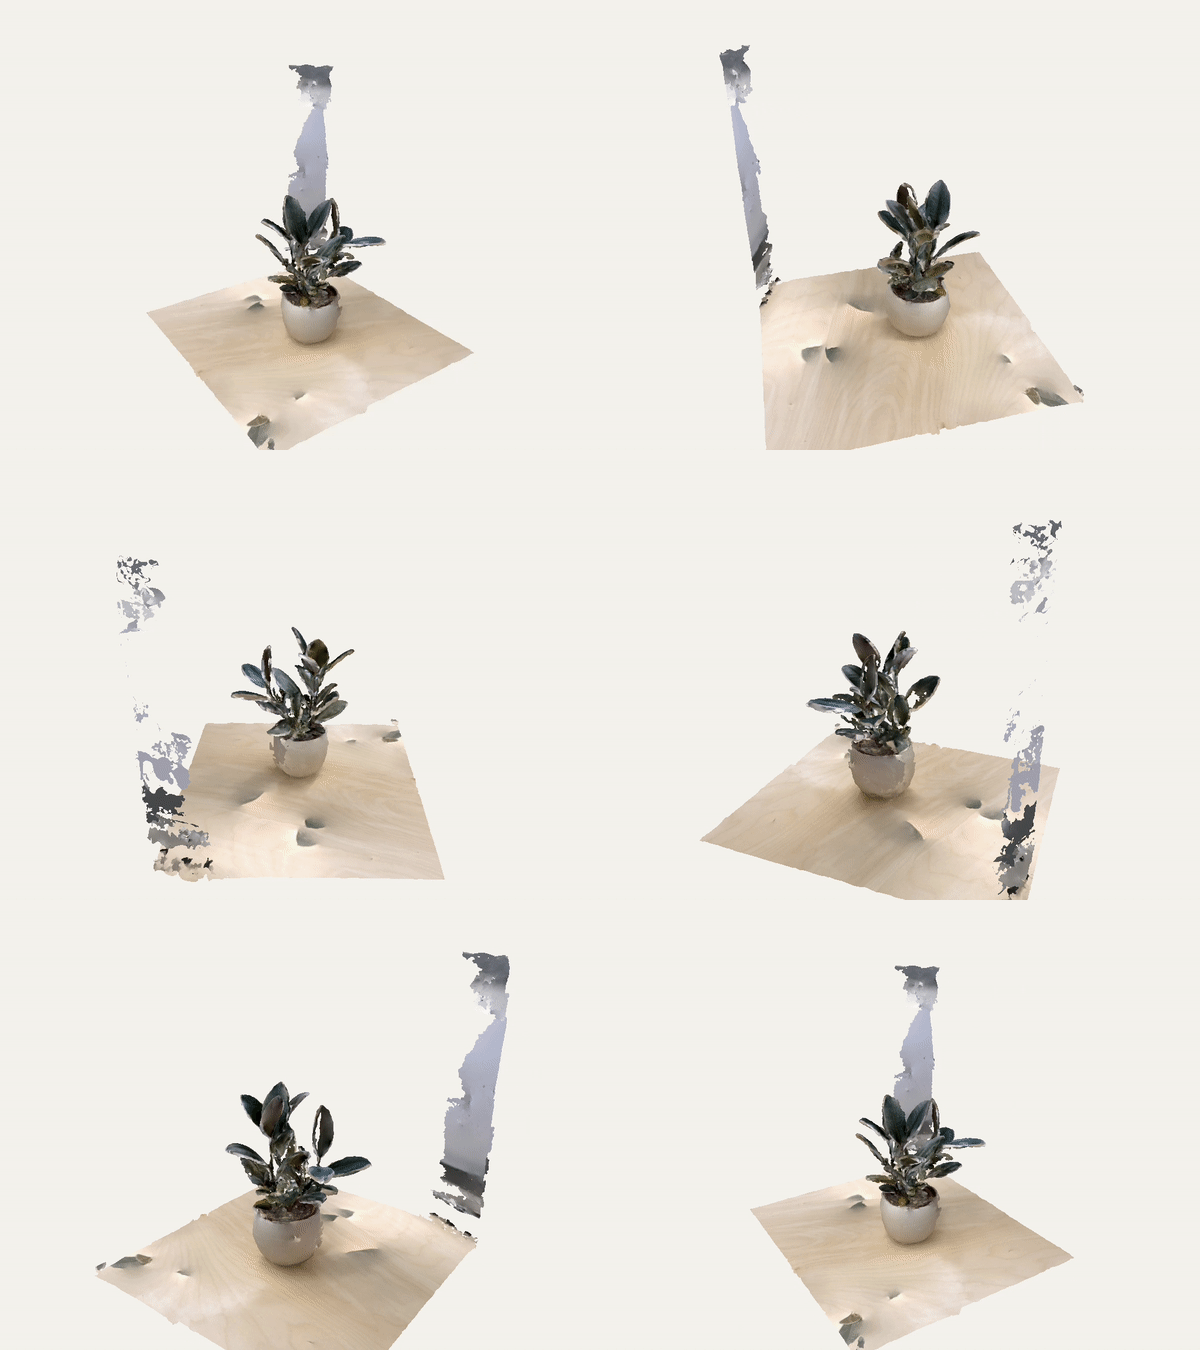
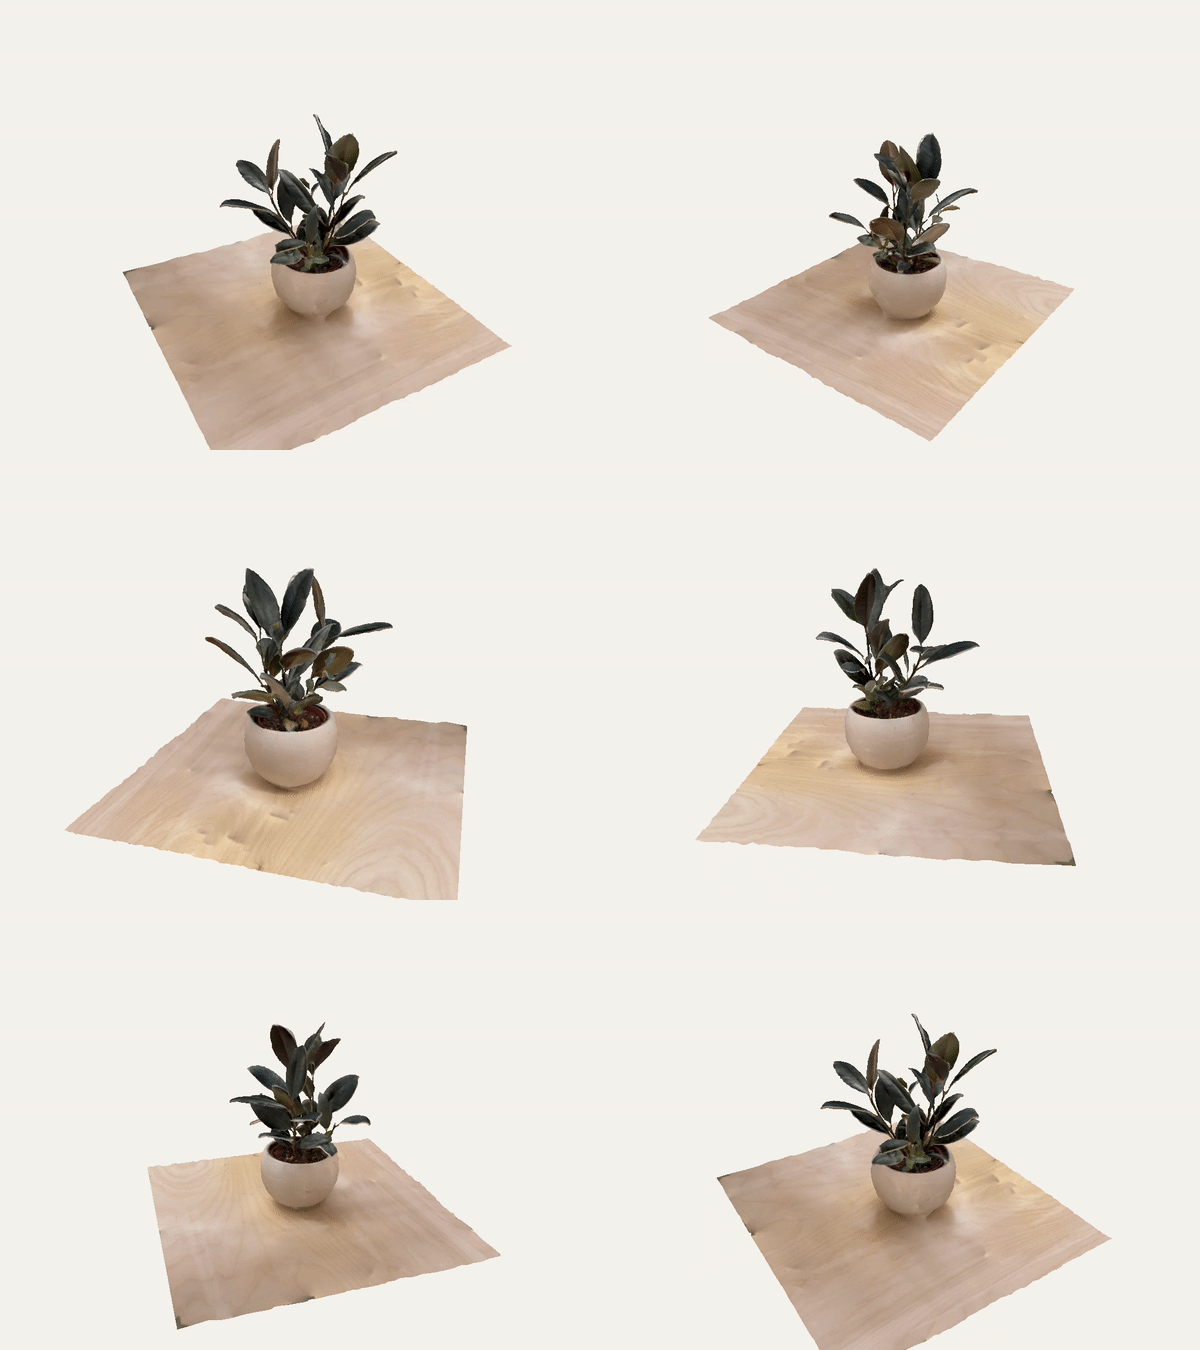
For the photogrammatery assignment, I used the Polycam App on iOS to scan a plant. I tried both the LiDAR & photo scanner. Although the LiDAR scan processed much more quickly (~3min vs. 15min), there were gaping holes in the model and it also scanned a part of the back wall. I tried it a few times with no luck. As the comparison chart shows, the LiDAR scanner is better for spaces while photos are better for objects that require more preicision.
3D Printing - test run
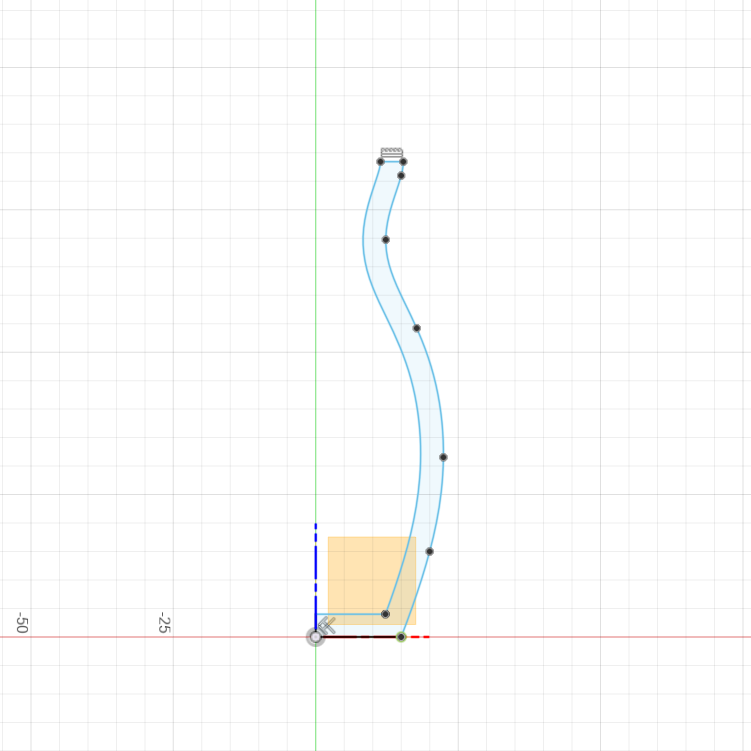
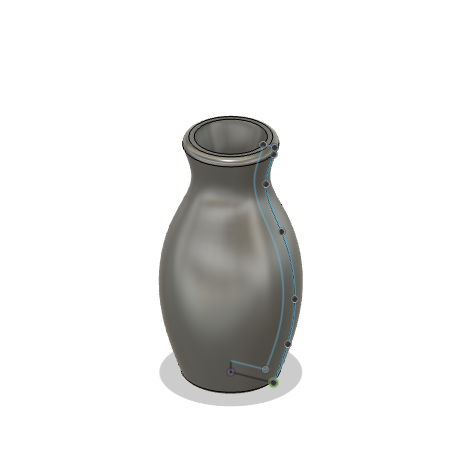
For my test print, I quickly modelled a vase in Fusion360 using the revolve command. The first print failed because I scaled down the vase so it would print faster and it ended up being too thin. The second print also failed halfway, but third time was the charm!
3D Printing - Eames Chair LCW
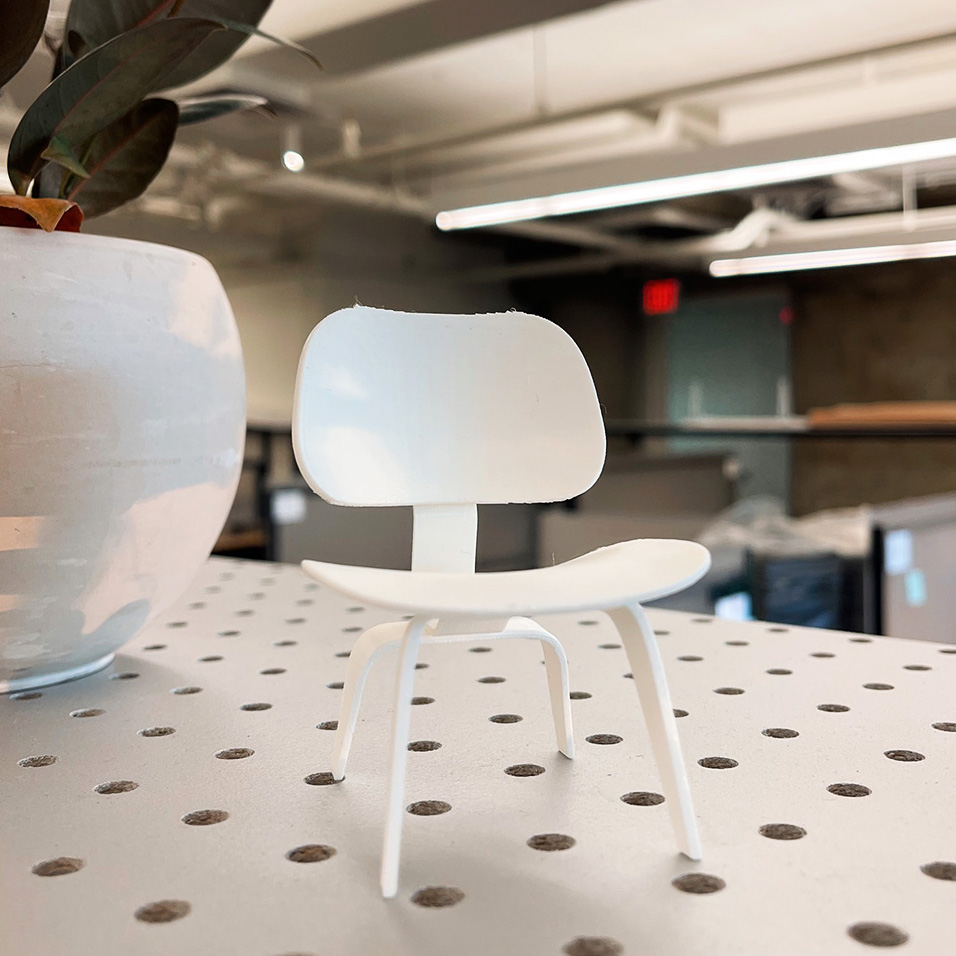
I wanted to challenge myself this week and learn how to model in Rhino. I decided to model the Eames LCW Chair since it contained many curves and undercuts which would be difficult to make using other subtractive methods. It also gave me the opportunity to learn a ton of Rhino commands such as: sweep1, loft, offsetsrf, edgesrf, cap, boolean union/split, rebuild, orientonsrf, filletedge, and more.
I started by creating sketches of the front, side and top views of the chair. Then, I created 3D shapes using the 2D sketch as a guide. This took a lot of time (10+ hours!) since it was my first time figuring out all the Rhino commands and there were so many curves and angles.
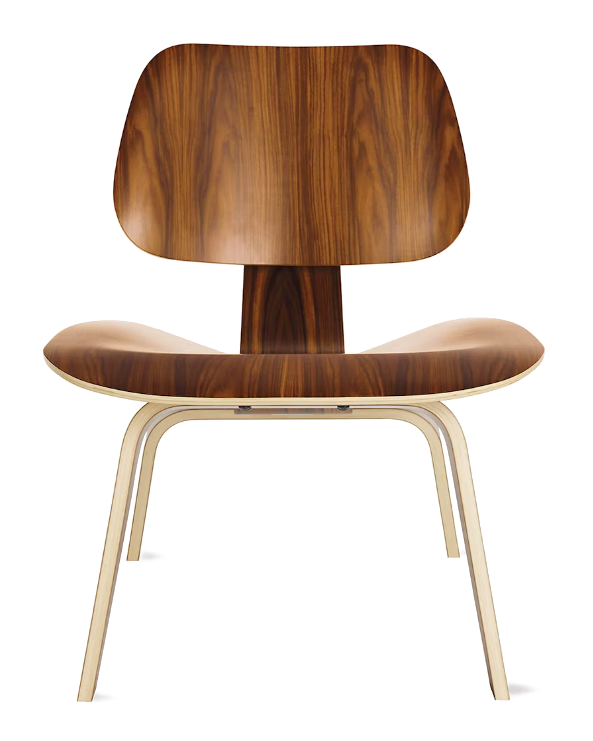
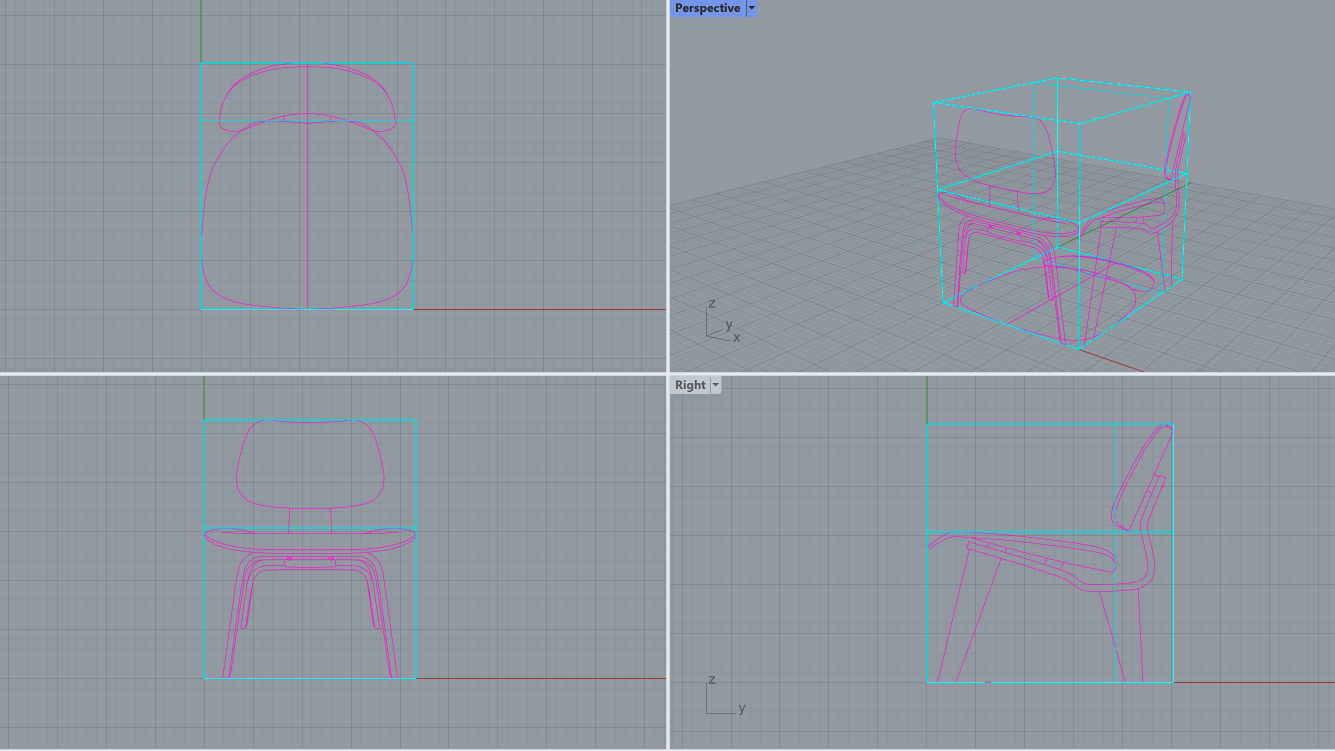
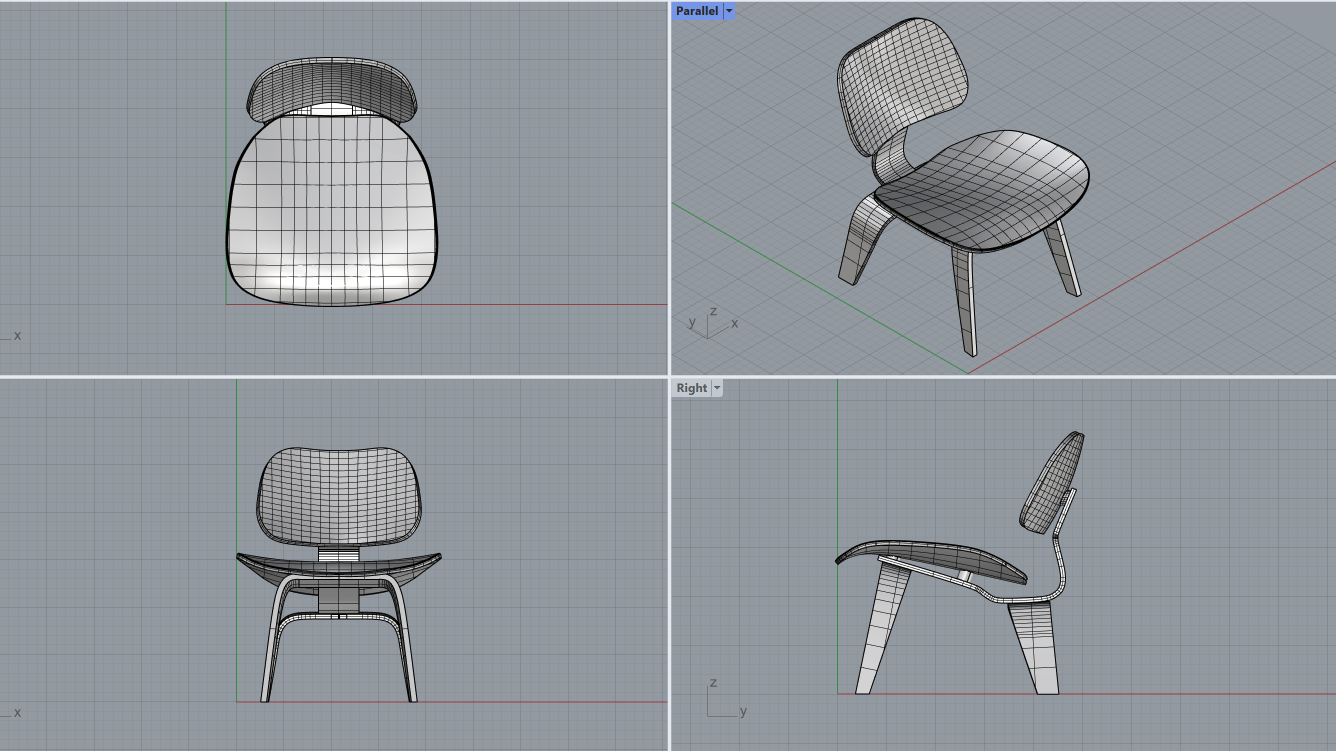
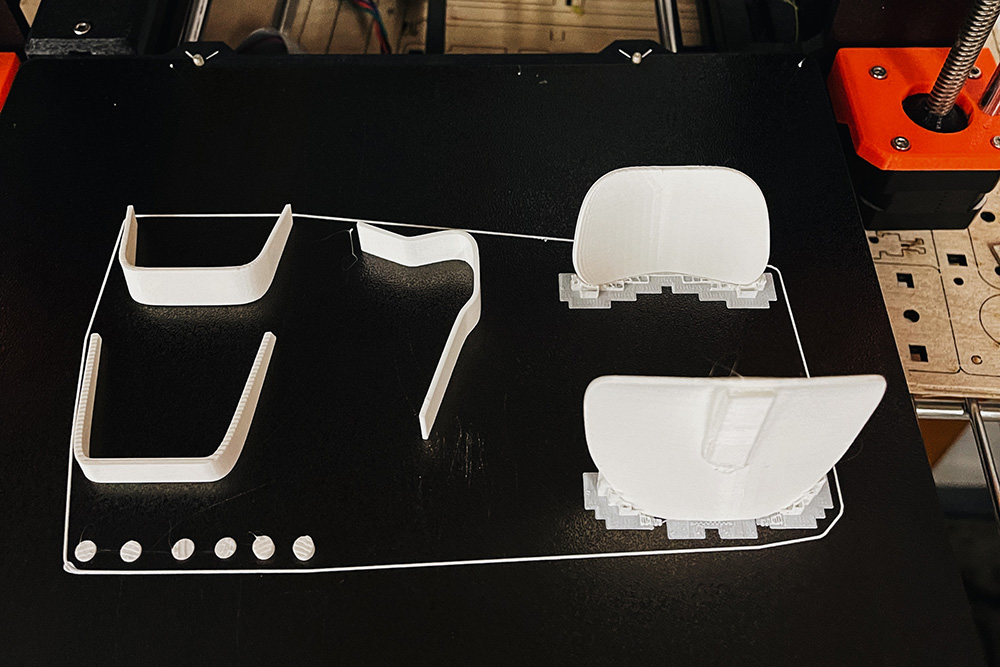
3D printing turned out to be an even greater challenge than modelling. Instead of printing the entire chair, I exploded it into separate parts as I realized that if there were support structures between the tiny gap between the seat and the back structure, it would be impossible to take out. However, I still ran into several issues with each print - the print either failed or I wasn't able to remove the support structure. I tried using pliers and sanding it down but it didn't work well. I assume it was either because of the filament or because the support structure was too thick.
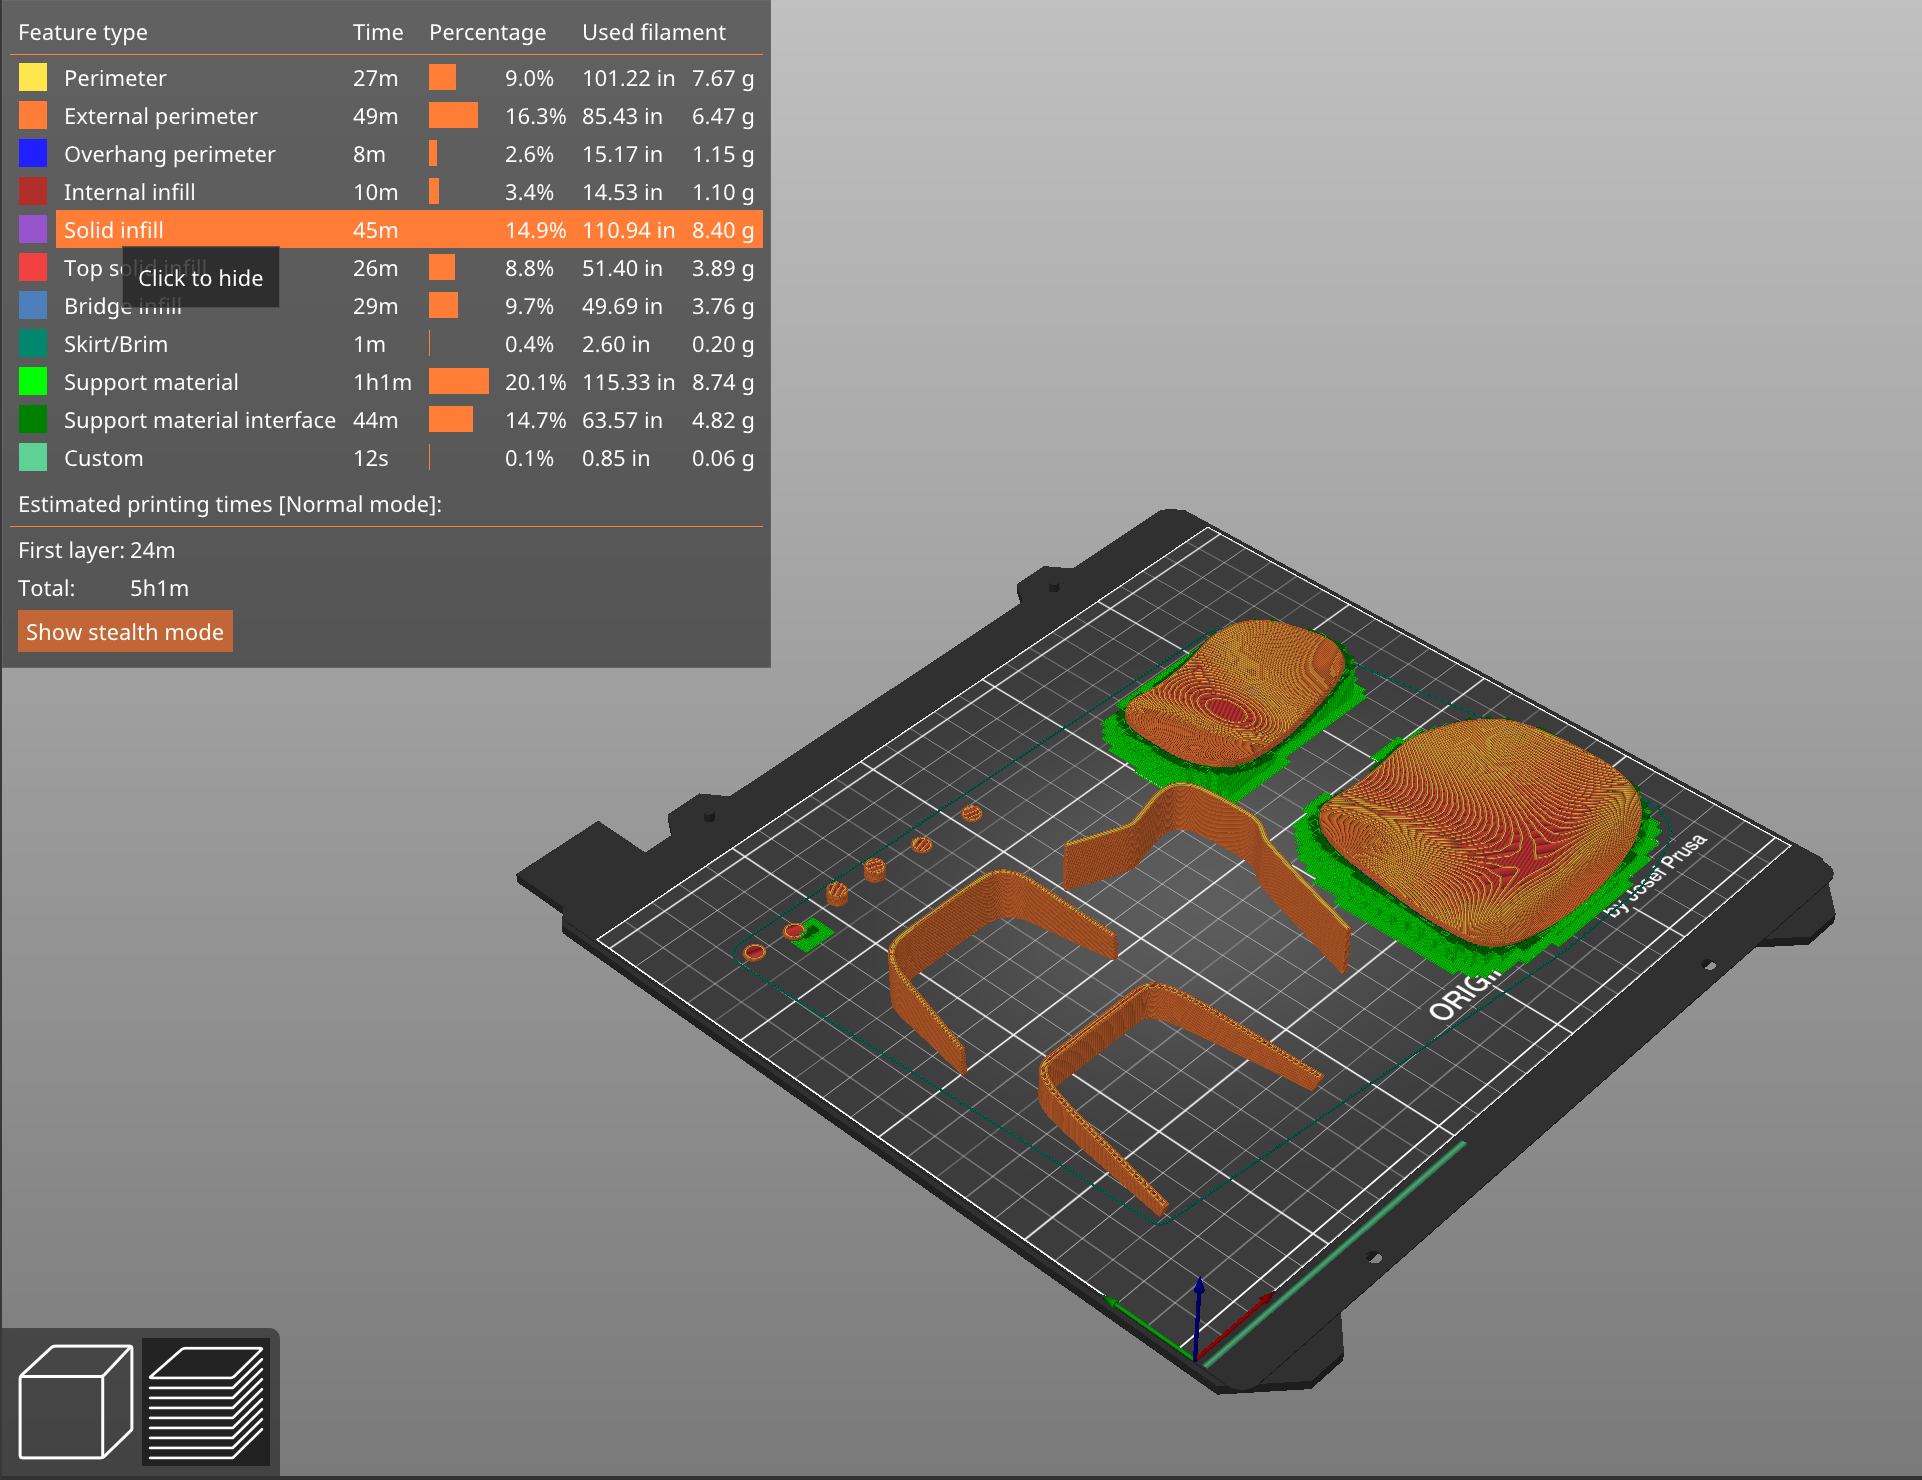
For the nth round of iterations, I shrunk the model a bit to save on printing time and turned the problematic pieces upright so that there would be less support structure, thus making it easier to remove.
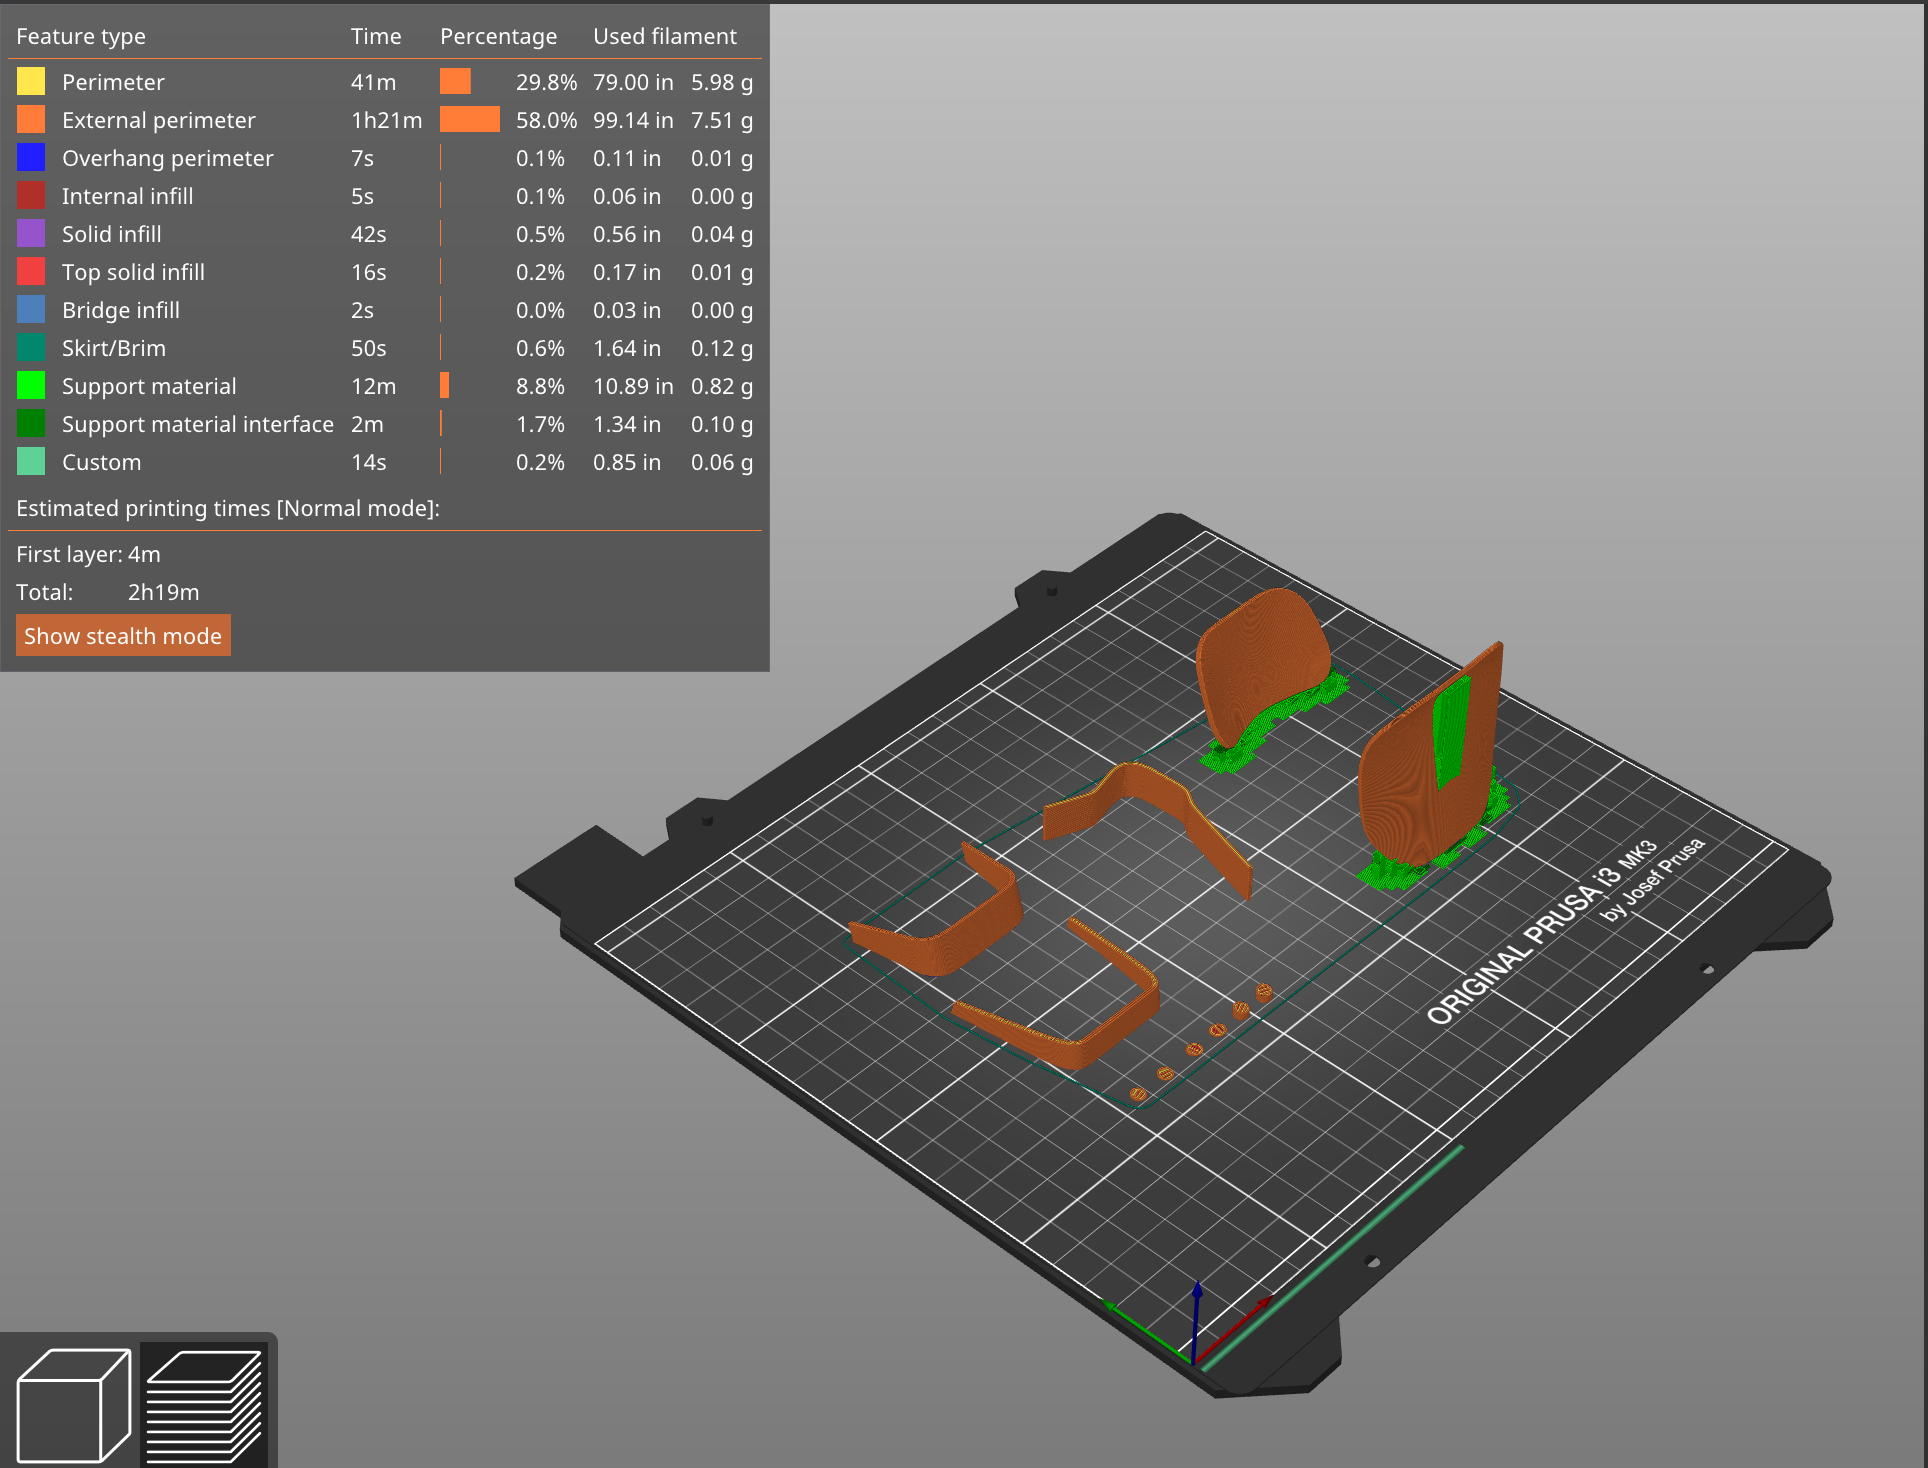
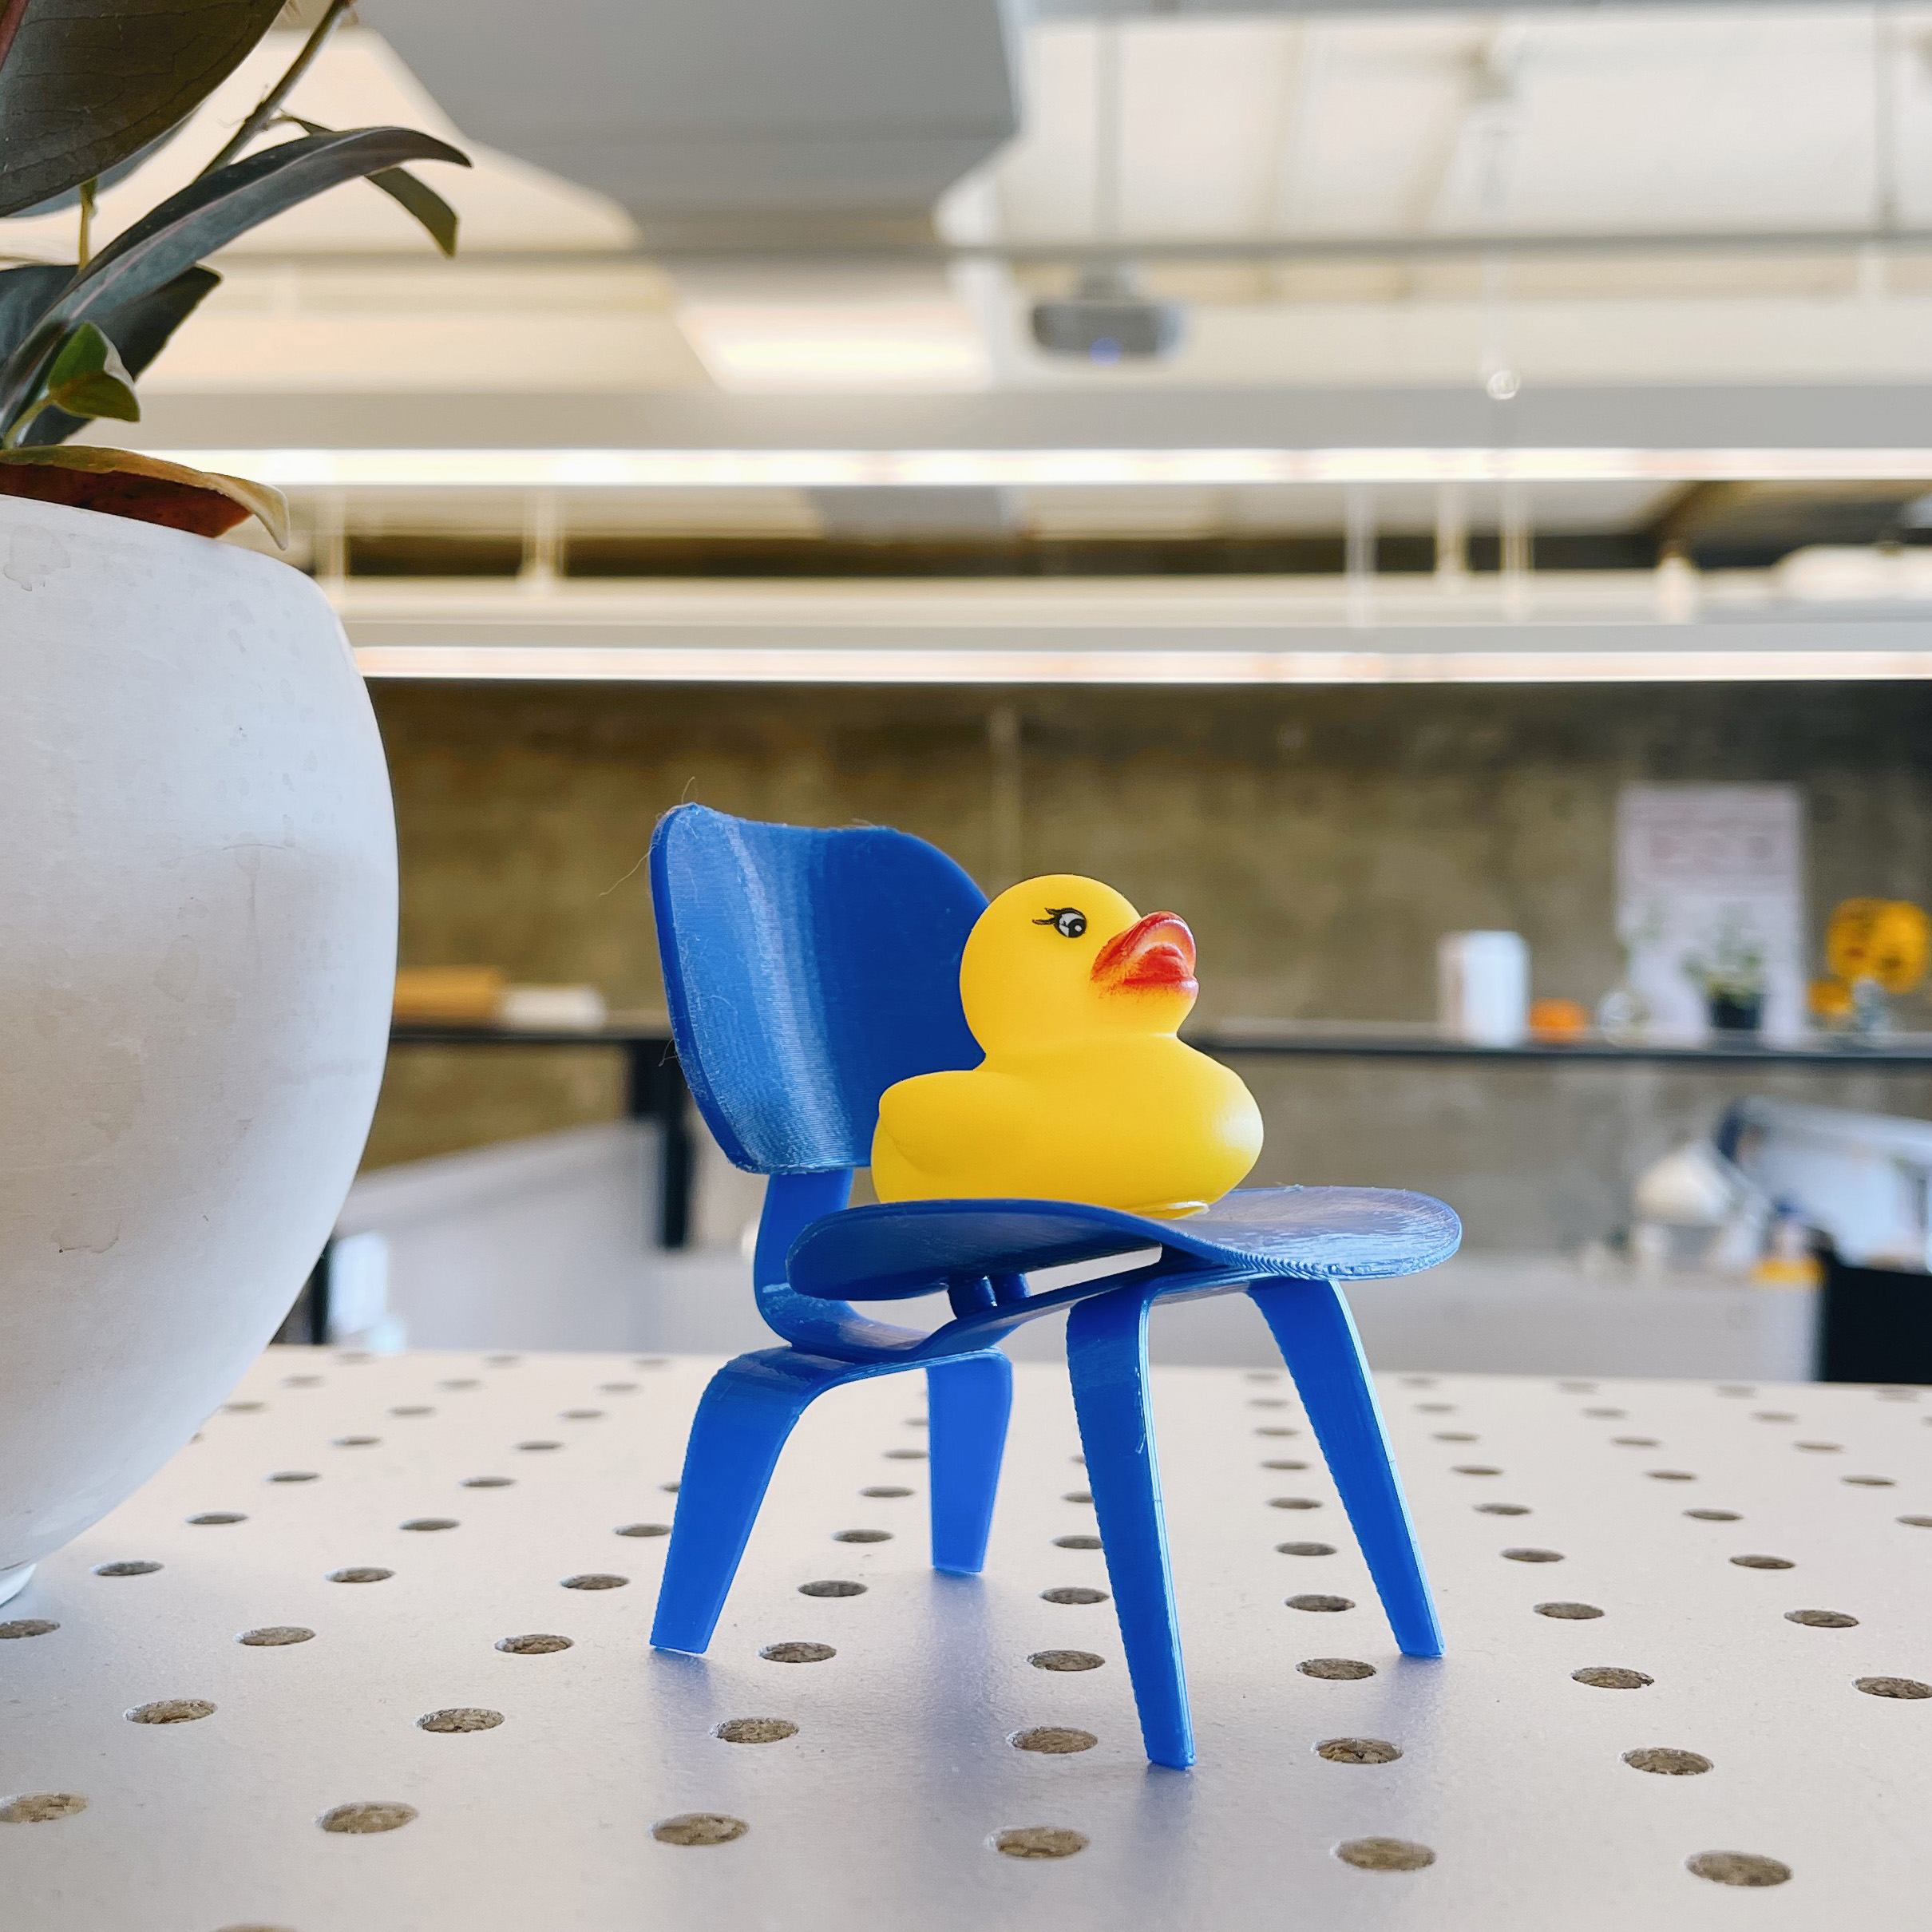
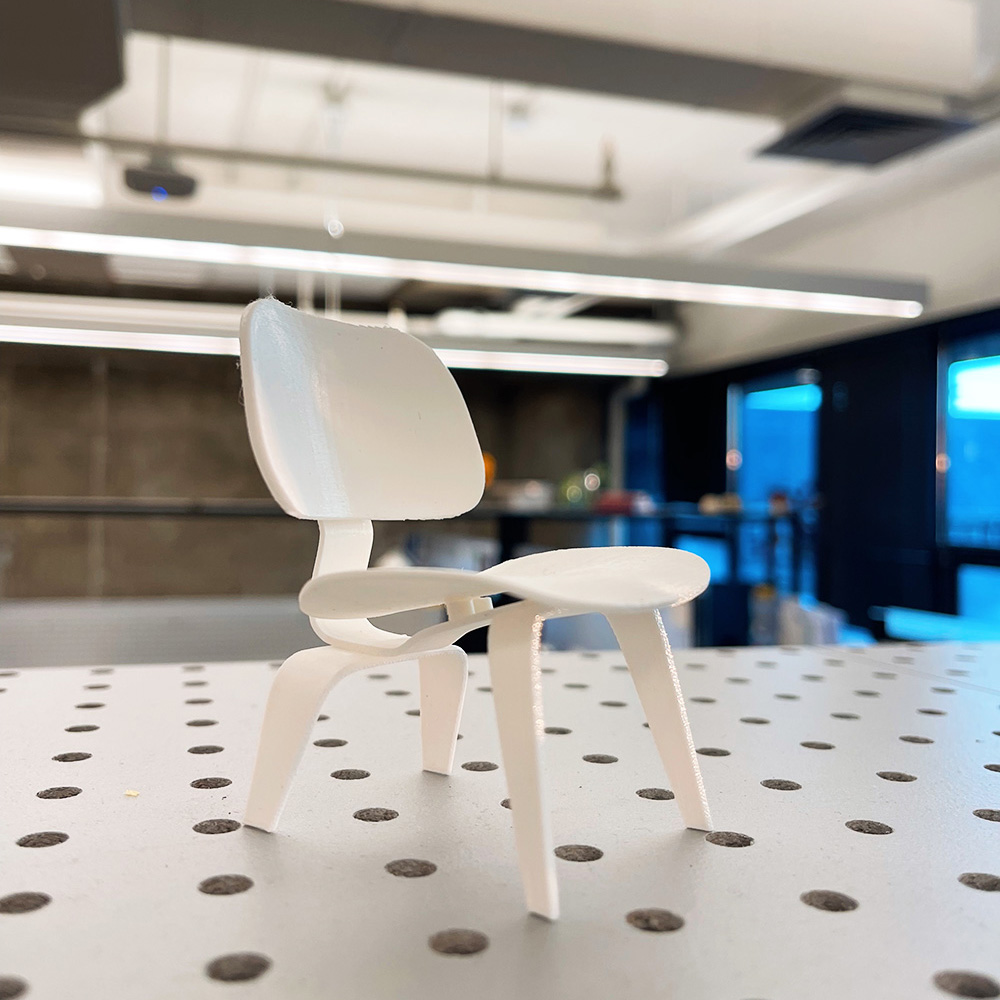
And finally...the print succeeded!
Download 3dm file
Download STL file
Download Gcode file
